
Flash Dryer Maintenance & Troubleshooting Guide
A spin flash dryer holds its efficiency and reaches its full service life only when it is maintained on a schedule and faults are diagnosed quickly. This guide gives you a preventive-maintenance routine with concrete intervals, a troubleshooting table for the seven most common problems, and fixes for the two issues operators raise most: seal leakage and agglomeration.
Preventive maintenance schedule
Before each start (daily)
- Inspect the machine: look for damage, loose fasteners and intact cabling; check valves and pipes for leaks; check the body for vibration, cracks or corrosion.
- Listen while running for abnormal sound or vibration; test that each motor runs normally; confirm fans and the control box are properly grounded.
- Check that instruments read normally, and have them calibrated periodically.
Cleaning
- Periodically clean the drying chamber and hot-air system of accumulated dust; clean the bag filters often so the exhaust stays free-flowing.
- Keep the surroundings clean and stop oil, water and moisture from entering the control cabinet, which can cause short circuits.
Lubrication and fastening
- Lubricate bearings on schedule and top up oil as needed; the rotary (air-lock) valve needs cooling-lubricating oil regularly.
- Check fasteners often: the agitator bearing-seat fixing screws, the screw-feeder bearing seat and motor fixing screws, and the tension and condition of V-belts and sprockets — tighten or replace anything abnormal.
Wear parts and filter elements (by interval)
| Interval | Action |
|---|---|
| Every 2 weeks | Check the moisture indicator — replace the filter element when it reaches the red zone |
| Every 2 weeks | Check the pre- and post-filter pressure differential — replace the element if Δp exceeds 0.5 kg/cm² |
| Monthly | Check the control air-line filter element — replace if clogged |
| Quarterly | Inspect and clean the pre- and post-filter elements |
| As needed | Inspect blades and screens — replace worn or damaged parts promptly |
Electrical, safety and records
- Periodically inspect the full electrical system — cables, motors and control cabinet.
- Check safety devices such as guards and the emergency-stop button.
- Log every maintenance action (date, work done, parts replaced) to build a service history.
- If a water-circulation system is fitted, keep it topped up and never run it dry; after a long shutdown, measure the insulation resistance of electrical components and dry them out if it has dropped.
Troubleshooting: seven common faults
| Symptom | Likely cause | What to do |
|---|---|---|
| Product moisture too high | Exhaust temperature too low | Reduce the feed rate and raise the exhaust temperature |
| Product moisture too low | Exhaust temperature too high | Increase the feed rate and lower the exhaust temperature |
| Mixing temperature drops too fast; little or no product discharged | Feed rate too high to evaporate fully; inlet temperature dropped suddenly; feed moisture too high | Reduce feed; raise inlet/outlet temperature; adjust inlet temperature and feed speed; reset feed parameters and fan air volume |
| Evaporation and output fall | Lower system airflow; low hot-air inlet temperature; air leakage; low compressed-air pressure; clogged pulse bag filter | Check fan speed and outlet butterfly-valve position; check steam pressure and for blocked air filter/heater ducts; reseal joints; clean or replace filter bags; raise compressed-air pressure |
| Too many impurities in the product | Poor air filtration; accumulated powder mixing in; incomplete cleaning; low raw-material purity | Replace or clean the filter; check for scorched powder at the hot-air inlet; re-clean the machine; verify raw-material purity |
| Excessive main-motor vibration or product too coarse | Agitator motor running abnormally; worn motor belt; internal blockage; feed rate raised suddenly | Restart/repair the agitator motor; replace the belt; stop and inspect; adjust the feed rate |
| Low efficiency, excessive powder loss | Poor cyclone separation; damaged filter bags; loose bag installation | Check the cyclone for impact deformation and improve its airtightness; check the inner wall and outlet for blockage; check bag fit and for damage; replace the pulse bag filter |
Stopping material leakage at the shaft seal
Leakage usually starts at the gland packing. The packing has limited elasticity, so as the shaft and packing wear, the diametral clearance widens; under the chamber's positive pressure (around 0.045 MPa) the leak then grows. Proven fixes:
- Reshape the crusher liner. Changing the inner liner from circular to a 32–64-sided polygon angled 5°–10° stops material build-up and improves crushing — material changes direction on impact and meets the blades more often.
- Revise the blade set. A lower-plate blade group combined with an upper fan-type crushing blade (three layers, three blades each, ~10° bevel) improves crushing and movement and reduces wall-sticking on viscous feeds.
- Upgrade the seal. Add a labyrinth seal (~120 mm long; design gap 5 mm, falling below 2 mm after thermal expansion) and partition the packing cavity so the seal operating pressure stays above the chamber air pressure — which keeps hot air and material from escaping.
Terminology: if downtime or loss stays under your set limit it is a fault; if it exceeds the limit it is an accident. Log both.
Preventing agglomeration
Some hygroscopic or sticky materials (talc is a classic example) hold moisture and clump during drying, which hurts product quality. Prevent it by running the dryer as a closed loop under negative pressure with effective disintegration, so particles are fully separated and dried before they can re-agglomerate.
Keep it running well
Most lost output traces back to a missed filter change, a worn belt or a leaking seal — all cheap to prevent and expensive to ignore. Pair this routine with correct sizing (see the flash dryer efficiency guide) and the right feed match (see how a flash dryer works). For parts and service on our units, view the Spin Flash Dryer or the full flash dryer range.
Frequently Asked Questions
Related Products
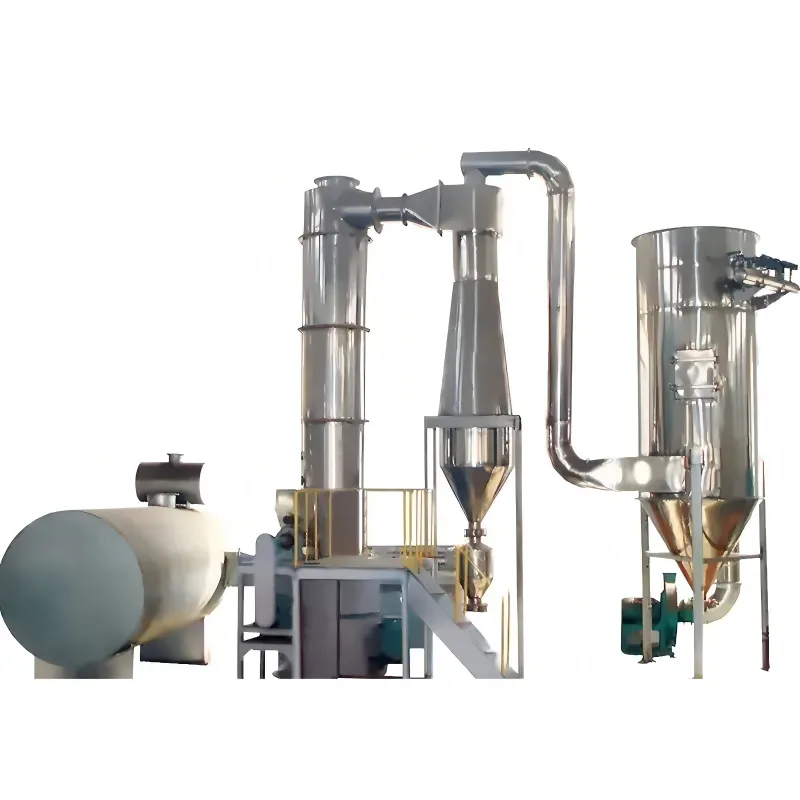
Spin Flash Dryer
XSG spin flash dryer for filter cakes, pastes and slurries. Dries, disintegrates and classifies in one chamber. Seven models evaporating 58–1,203 kg/h of water.
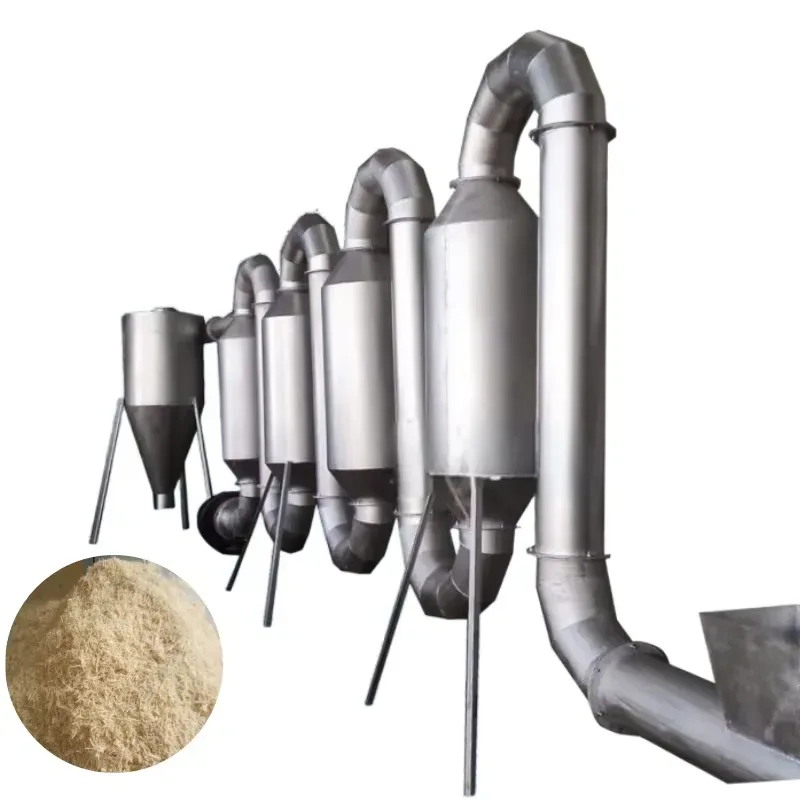
Pulse Flash Dryer
Pulse flash dryer using instantaneous airborne drying to remove free moisture from powders and granules at high throughput.